Layered Workflows: Non-destructive Exploration in Illustration
Why non-destructive methods matter
Non-destructive workflows let you test alternatives without erasing previous solutions. This preserves discoveries, shortens the feedback loop, and makes it easier to compare versions. Using layers, masks, and groups strategically simplifies late-stage decisions and encourages experimentation.
Basic layer structure
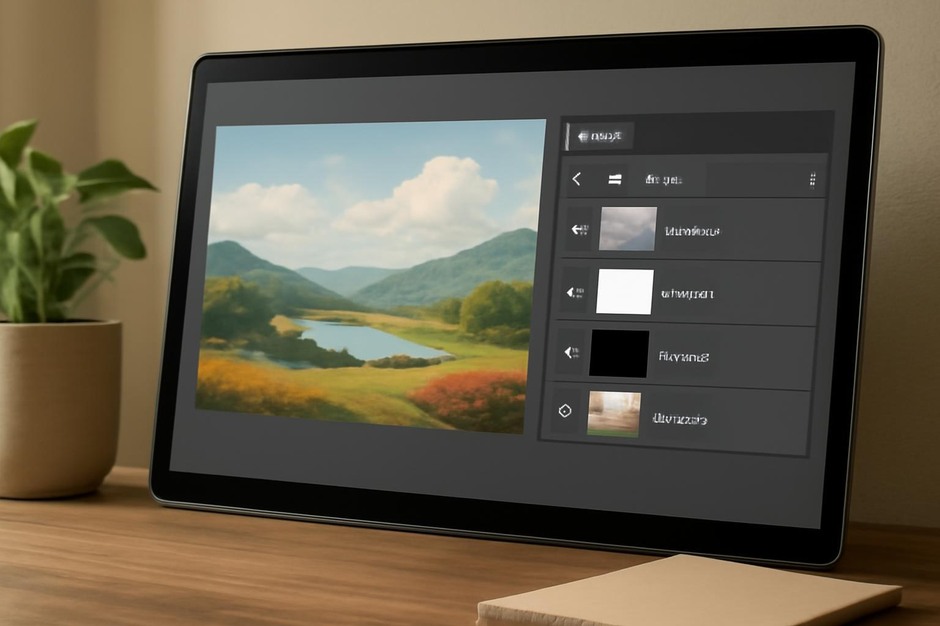
Adopt a clear, repeatable layer structure so you can find and reuse elements later. One simple layout:
- Sketch layer: Lower opacity, grouped at the top for reference.
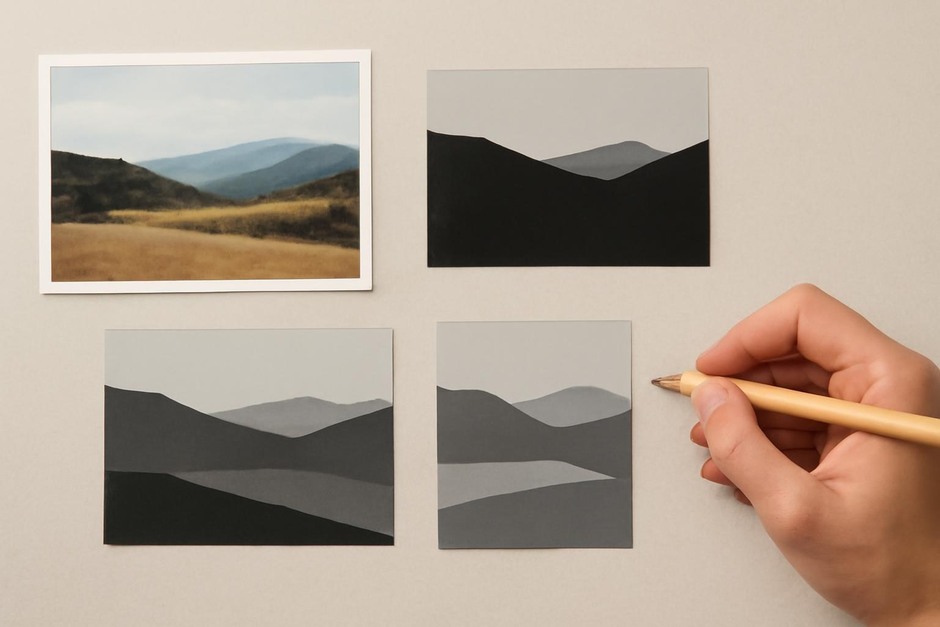
- Underpainting/value layer: Base shapes and values beneath refinement layers.
- Local colour layers: Separate layers for major colour areas (background, midground, character, props).
- Adjustment layers: Global hue/saturation and levels placed above colour layers.
- Detail and effects: Final touches, glows, and surface texture on higher layers.
Masks and clipping
Masks let you refine shapes without painting and repainting edges. Use masks for non-destructive erasure and clipping groups to keep colour within a defined area. This makes it straightforward to try different colour schemes or textures then toggle them on and off.
Groups and naming conventions
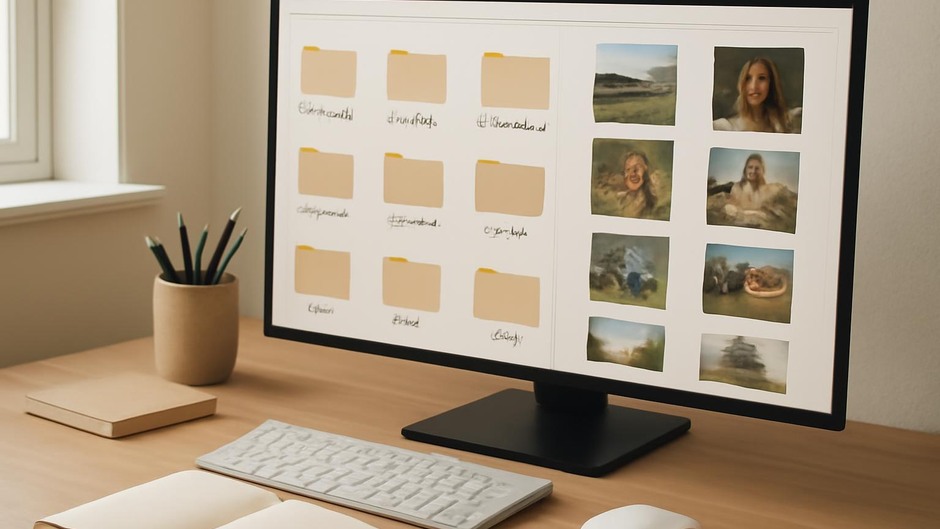
Group related layers and name them with short, meaningful tags like “head-colour”, “hair-values”, or “window-reflections”. Consistent naming speeds navigation and allows you to collapse unused groups to keep the file tidy.
Testing alternatives
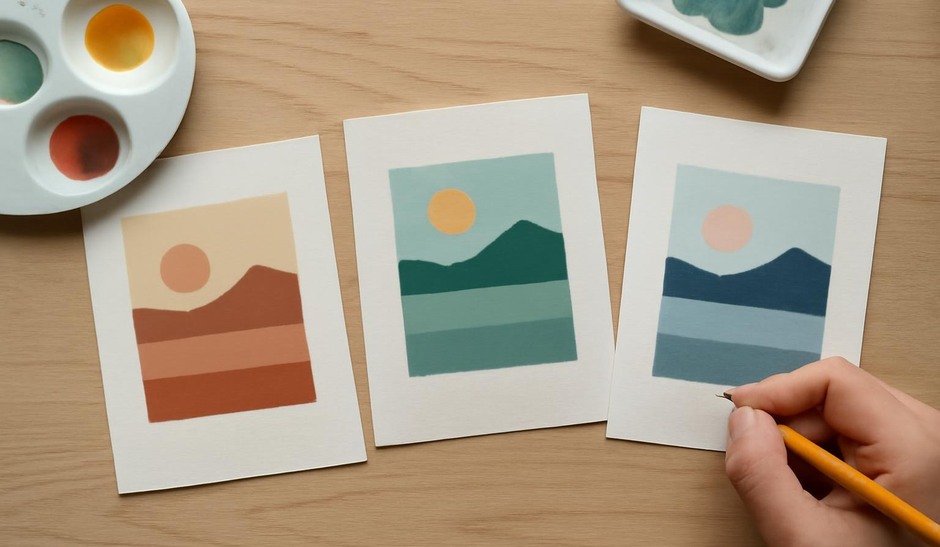
When you want to test a strong change—different lighting, a new costume, or an alternate composition—duplicate only the group affected and label it with a version suffix. This minimizes duplication and keeps file size manageable while preserving choices you may return to later.
Using nondestructive filters and adjustment layers
Apply global changes with adjustment layers rather than direct paint to retain original colour relationships. If you need local changes, use masks on adjustment layers so effects can be brushed in selectively without damaging originals.
Practical example workflow
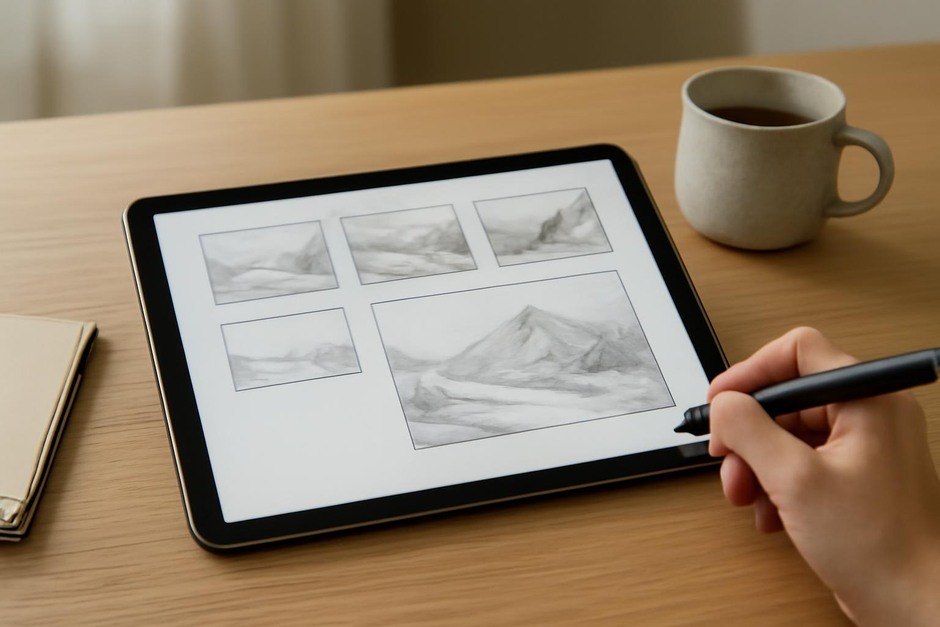
Start with a single canvas and a sketch layer. Block in values on an underpainting layer. Create separate colour layers for foreground and background with clipping groups tied to the value block layer. Add an adjustment layer for contrast and global temperature. When trying a new palette, duplicate the group containing local colours and toggle its visibility while keeping the value structure intact.
Benefits for iterative studies
- Faster experimentation with less fear of losing work.
- Ability to flip between versions to see which decisions read best.
- Cleaner handoff if you revisit a study weeks later.
Non-destructive layer habits turn file complexity into an asset rather than a liability. Over time, a well-organized layered file becomes a workshop where small experiments can be tried, compared, and preserved without friction.